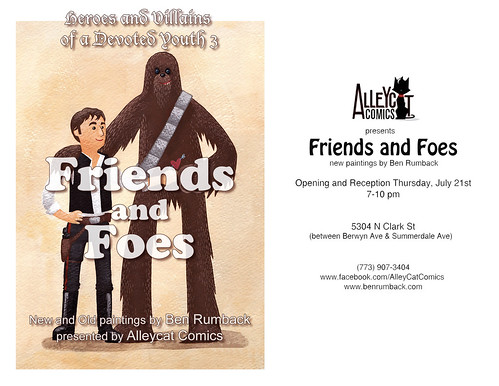
Not to sound too self-gratifying, but I make a lot of things. I've been known to make stuff, junk, and even trinkets. One of my favorite things to make, and probably the one that gets the most attention, are custom nesting dolls. I've made five of these over the last few years, and, as mentioned before, they weren't my idea from the start. The brilliant idea was that of my cousin Margo, when she asked me to make a set for her mom, for Christmas. From the first, I feel like my process is a little more refined, and the product so much better for it. This is the latest set, which was commissioned by my friend Lakshmi, as a father's day gift for her husband Prasanth. The report from the front is that he has them, loves them, and I can blog about them, as they are no longer a secret. I took process photos, which I always forget to do, and figured you might like to see them, if you are here anyway.
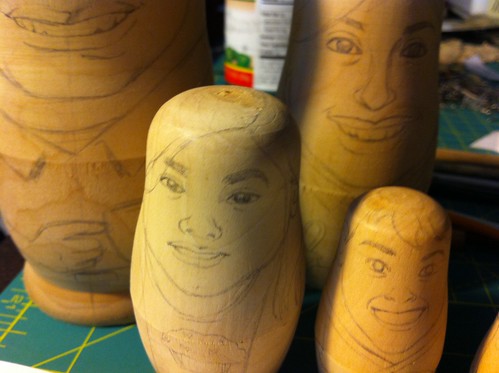
The first and most common (and ludicrous) question people ask is whether I buy them or carve them myself. First off, I have never used a lathe. Second, if these were hand whittled, the price would rest in the five-to-seven-hundred range, instead of the two-to-three-hundred spot that they currently occupy. I buy them online; The secret is out. Once i have the blanks unpacked and inspected, pencil comes first, of course.
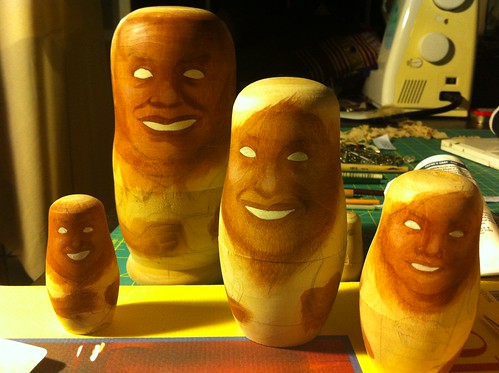
Next I address skin tone, which this time was more fun than usual, as all of the dolls I have made have been caucasian (disregarding the Alice in Wonderland set I made last year). after the skin is the right color, I paint in the whites of the eyes and teeth. This terrified Rachael, who was watching, and really didn't like it when I slowly pushed them toward her end of the table chanting "One of us... One of us..."
Working the highlights and shadows into the skin adds an amazing level of 'life.' i didn't discover this until i had already completed a few early sets, and it boggles my mind that it wasn't always part of the routine. They do become remarkably more friendly with the addition of pupils and iris', don't you agree?
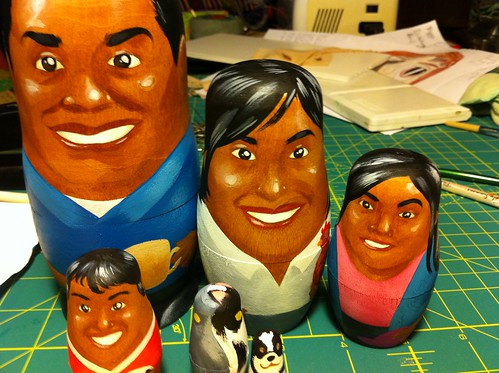
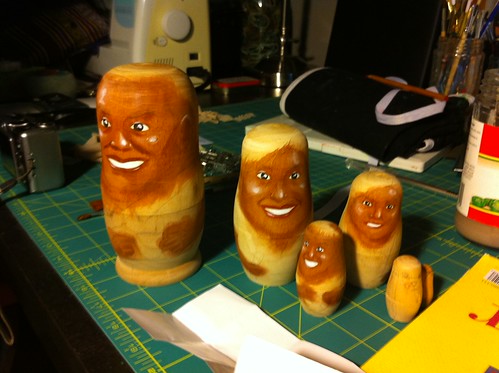
The next step is the biggest, as it sums up the majority of the paint work. Clothes, hair, highlights and shadows. Once this part is finished, the only thing that remains is the ink.

Ah the ink- my love and my enemy. As you may have guessed, there is no erasing at this point. I have been known to break a healthy sweat in the coolest of temperatures when applying the ink details on a set of dolls. The ink I use is India ink from a micron pen, so until it dries, it can be smudged, and once dry, is there to stay. Luckily, I had no twitches or sneezes while inking these, and they turned out really cute. I LOVED the double sided cat, though he/she is kind of hard to appreciate here.
Thanks for reading!